
Shopify’s theme choice is more than enough to get you settled with a beautiful and easy-to-scale store design. Yet, if you want to build a custom feature, optimize your store or develop a template from scratch, you need to familiarize yourself with Liquid. Bookmark this article. It will come in handy once you want to edit the theme.
What is Shopify’s Liquid?
Shopify’s Liquid, often described as the backbone of all Shopify themes, is a unique and powerful templating language developed by Shopify themselves. Understandably launched with a keen focus towards user experience, Shopify created Liquid to offer users the opportunity to customize their own digital store layout design without requiring extensive technical expertise.
Liquid is written in Ruby, and it operates as an open-source project, further reflecting Shopify’s commitment to community-driven growth and enhancement. The primary function of Liquid is to load dynamic content onto online stores, which means that users have extensive control over how their product images, text, and other relevant details are displayed.
Working with Shopify’s Liquid is about tailoring your online shop to best suit your brand and audience. Through it, store owners can shape a unique user experience that reflects their branding, promotes their products, and ultimately, drives ecommerce success. Whether it’s rearranging product thumbnails or modifying how product information is showcased, Liquid’s versatility and power make Shopify a standout ecommerce platform.
In essence, Shopify’s Liquid is a gateway to high-quality, customizable web design, enabling even novices to create visually appealing and effective ecommerce sites on the Shopify platform.
Liquid’s role in the Shopify theme editor: Static vs. dynamic content
Shopify is using HTML for static content, such as navigation menu, site logo, footer information. Such elements remain the same across the platform. Yet, for dynamic content, that is content that depends on shop’s owner input (product details, price, quantity, etc.), Shopify uses Liquid. It needs to be fetched from a database when a website user is viewing a particular site. That’s why it’s referred to as dynamic.
Let’s say a user is going through your product pages, one by one. Every time the browser loads a new site for him/her, the Liquid code in your theme is replaced by the right product data from your Shopify store. The user sees all relevant information that you “told” the template to display when editing the theme.
Mastering Liquid’s syntax: The basics
You don’t need to know much about store database to use this template language. Liquid has its own syntax to display the right information. The code uses three major pieces: objects, tags and filters.
Objects – those are pieces of your Shopify data, such as product name, availability, collections, blog posts, discount codes etc. that you want Shopify to show on your website;
Tags – they don’t produce visible output as objects do, but you can assign variables and create conditions or loops to display the message on the page when a product is sold out or when a collection is empty, and much more;
Filters – they modify the output of numbers, strings, objects and variables; you can have general filters (date, address format, etc.), media, font, URL, money, math or array filters and more; all of them are used to modify information.
Where can you see and start editing Shopify’s Liquid?
Gaining access to Shopify Liquid: A step-by-step process
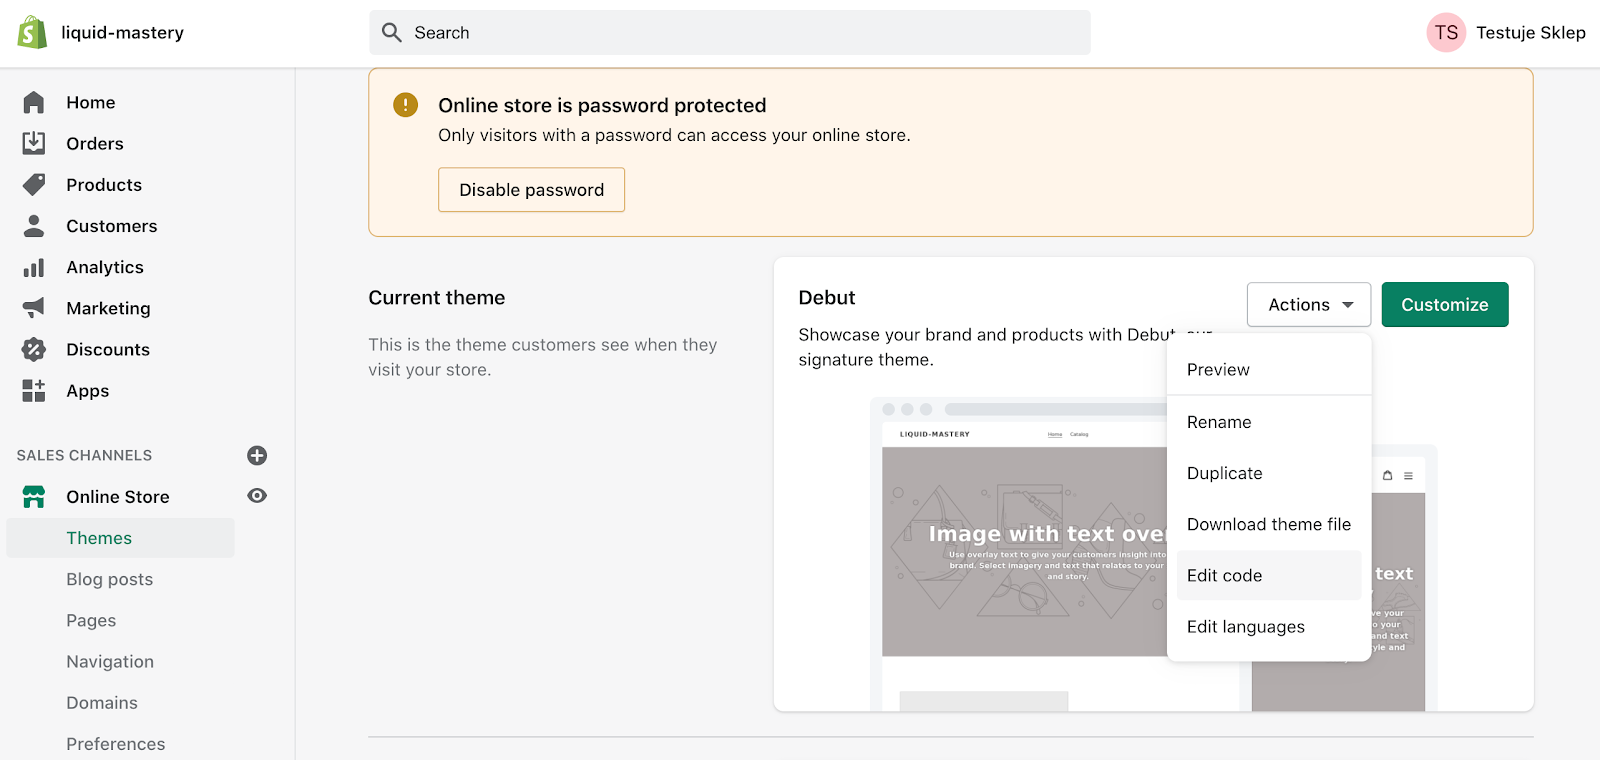
Every Shopify user can edit the code. To access it, log in to Shopify admin panel and go to Online Store > Themes in the menu on the left. Click Actions button and choose Edit code from the drop-down list.
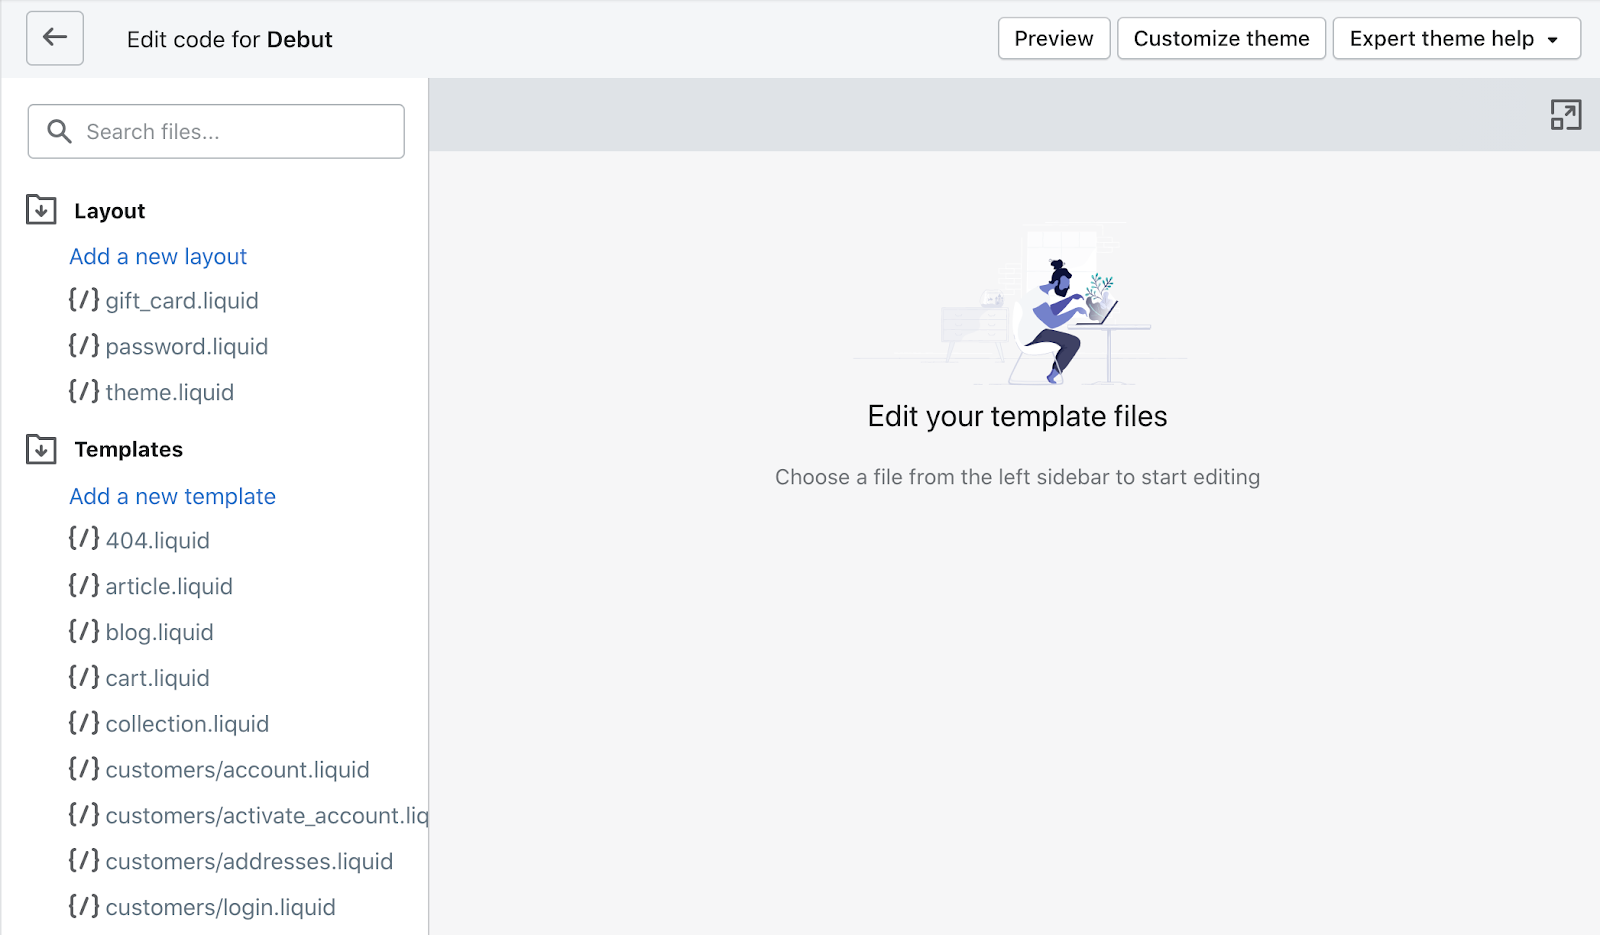
You should see this bit (screenshot below) with liquid files which have an extension of .liquid. Every liquid file contains standard HTML code and Liquid. You can tell them apart quite easily. Liquid uses its own delimiters. It’s either the double curly brackets {{ }} or the curly brackets and percentage combination {% %} that surround a text.
The double curly brackets that envelop text, such as {{product.name}} tell Shopify which output should be shown. What is output? It’s rather self-explanatory. It’s the very element that you want to retrieve from the database at this moment, like the name of a product or its price.
The curly bracket and percentage sign that wrap around text stand for tags. And as we’ve learned before, tags don’t denote visible output. They denote logic. So, a curly bracket and percentage sign combination tells Shopify what we want it to do, be it create conditions, loops or assign variables. Except from text, there are operators inside the brackets that tell Shopify what you want it to do.
Summing up:
.liquid – file name
{{ }} – Liquid delimiter that denotes output, such as objects and filters
{% %} – Liquid delimiter that denotes logic, that is variables, conditions and loops (tags)
Top Shopify Liquid guides & resources for site customization
You have a basic understanding of what Liquid is and how it works. In order to edit it confidently, you need some more knowledge. Here’s our preliminary list of resources that is a good starting point. It contains Shopify original content, plus some great findings.
- Shopify: An Overview of Liquid: Shopify’s Templating Language
- Shopify: Liquid Cheat Sheet
- Shopify Developers: Liquid template language reference
- Mark Dunkley: Shopify Cheat Sheet
- UX Planet: How to Make Custom Shopify Page Layout Templates
- Chris the Freelancer: Shopify Liquid – The Ultimate Guide
- Github: Shopify Liquid Code Examples
Contact us to customize your Shopify website
Liquid is Shopify-specific. That’s why if you encounter any problems along the process, we’re here to help. From development to design, we’re a Shopify agency that helps brand scale on Shopify, and we’ll be more than happy to help you too. And if you want to know more about Shopify, follow our blog.

Maria Siewierska
Digital Marketing Specialist